Sticky bras are great because they allow you to wear backless, strapless, or low cut styles without showing bra straps or bands. However, putthing them on correctly can take some practice. In this guide, we'll walk you through the step-by-step process of how to put on a sticky bra. We’ll also give you valuable tips to help ensure you make the most of this revolutionary undergarment.
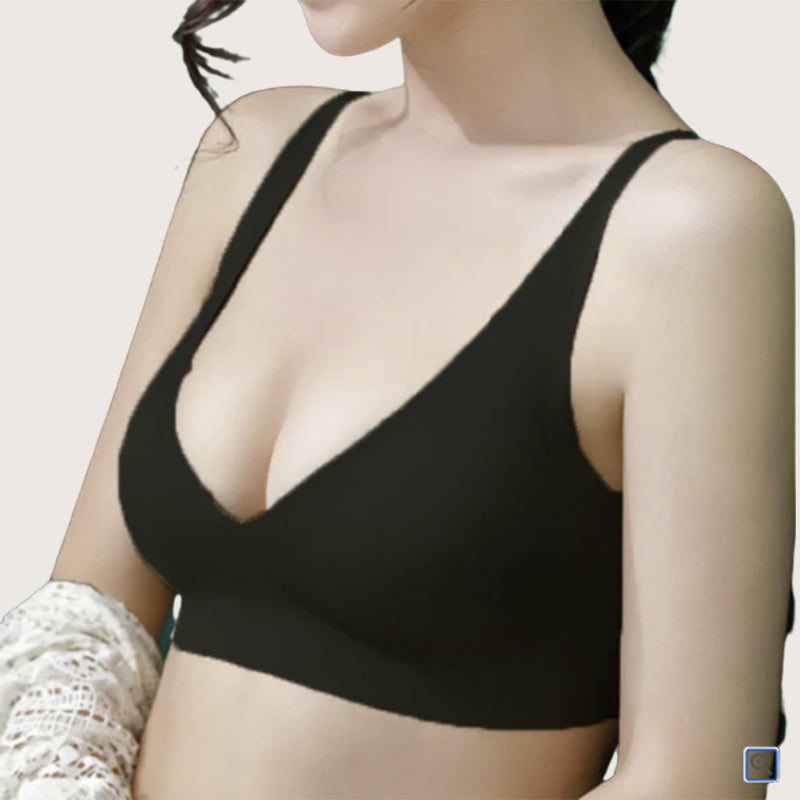
If you have been looking for the perfect sticky bra that will pretty much guarantee a flawless, strapless look, it does not get easier than the innovative Self-Adhesive Push-Up Bra from Body Sculptor X.
Here’s how to put on a sticky bra:
Step 1: Prepare Your Breasts
Proper prep is key for maximizing stickiness. Here's how to get your breasts ready:
- Wash breast area thoroughly with a mild soap and water. Pay extra attention to the underside/side areas where the bra adhesive will go.
- Exfoliate using a washcloth, loofah or gentle scrub. This removes any dead skin cells or oils that could reduce stickiness. Focus on the underside of your breasts. For more information about this, read our guide on how to keep a sticky bra on when sweating.
- Shave or wax any underarm hair that might interfere with the bra wings sticking properly. Hair traps oils and skin cells.
- Pat dry very thoroughly after cleansing. Any moisture left on the skin will prevent the adhesive from sticking. Make sure skin is completely dry.
- Avoid applying lotion, cream or oil-based products to your breasts or sides before putting on the bra. These will coat the skin and degrade the adhesive.
Step 2: Position the Bra Cups
Next, you need to ensure proper placement. Placement is key for the bra to work properly:
- Determine where the bra needs to sit on each breast by using the center gore as a guide. When properly aligned, the center gore should lie flat against your breastbone.
- Slowly peel back the adhesive backing about halfway, applying one cup at a time. Do not remove the backing completely.
- Firmly press the exposed adhesive to your breast, starting at the center gore and smoothing outward toward the outer edges.
- Rub the cup in a circular motion to ensure full contact with your skin. Make sure there are no gaps, wrinkles or folds.
- Repeat on the other side, keeping both cups symmetrically aligned. The bra should contour smoothly to your curves.
Step 3: Secure the Side Wings
For bras with side wings or extenders:
- Peel back the adhesive backing on one wing. Carefully press it flat against the skin below your armpit on the side of your torso.
- Working from the top edge down, run your fingers along the wing to seal it thoroughly against your body. Clear away any bubbles or wrinkles.
- Repeat on the other side, making sure the wings are even and stable. Check that the tops of the wings on both sides align properly.
Step 4: Refine Bra Placement
The next step is to double check your bra placement and make any needed adjustments:
- Ensure your breasts are completely encased in the cup contour with no spillage.
- Verify that the center gore lies flat between your breasts with no gapping. Re-press if needed.
- Make sure there are no lifted edges or folds anywhere in the adhesive surface. Re-press down firmly.
- Confirm the entire perimeter is sealed flat to your skin, especially at the tops and bottoms of the cups.
Step 5: Create Lift and Cleavage
Time to put your breasts in perfect position:
- Standing straight, gently scoop your breasts inward toward the center gore to maximize cleavage. Hold for 5 seconds.
- Lightly jiggle your breasts side-to-side and up-and-down to allow them to settle into the contoured cups.
- For extra push-up effect, lean forward slightly and press palms gently but firmly against the center of each cup. Hold for 15-20 seconds.
- Check cleavage and shape in a mirror. Re-adjust breasts in the cups as needed.
Your sticky bra should now be securely applied and ready to wear! Periodically check edges and re-press any small lifted sections to maintain strong adhesion all day or night.

More Tips for Wearing Sticky Bras:
- Use Sticky Bras on Dry Skin: Applying a sticky bra to dry skin ensures optimal adhesion. Avoid using moisturizers or oils on your chest before putting on the bra.
- Avoid Lotion on Breasts: If you've applied lotion to your body, make sure it doesn't come into contact with the adhesive area, as it may reduce stickiness.
- Clean Your Sticky Bra Properly: We cover exactly how to do this in detail in our guide on how to clean sticky bras.
- Store Properly Between Uses: Store your sticky bra in a cool, dry place, ideally in its original packaging, to prevent dust or lint from affecting the adhesive. For more information, read our guide on how to store sticky bras.
- Adjust Straps for Comfort: If your sticky bra comes with adjustable straps, tweak them to find the most comfortable and supportive fit.
- Remove Carefully: When it's time to take off the bra, peel it off gently from the sides, starting at the outer edges and moving towards the center. Note that some sticky bras are not reusable. Please read our guides on are sticky bras reusable and how long do sticky bras last for more information.
Final Thoughts
That’s all there is to it! Your sticky bra should now be securely applied and ready to wear! Just be sure to check periodically throughout and re-press any lifted edges to keep the adhesion strong.
By following these steps and incorporating these valuable tips, you'll master the art of putting on a sticky bra with ease.
Get ready to experience the freedom of a strapless look without compromising on style or support with the Self-Adhesive Push-Up Bra from Body Sculptor X. Elevate your wardrobe and embrace the versatility of this revolutionary undergarment.
